Who says you need a king’s ransom to build slick touch screens, button boxes or a full-blown simulator interface? With a soldering iron, some salvaged parts and a pinch of creativity, you’ll be custom-crafting displays and controls—easy on the wallet and epic on style.
Introduction
Gamers and gearheads: ever dream of a customizable touch interface above your keyboard or a dedicated button box for flight sims—but balked at steep prices? Fortunately, salvaging old devices—smartphones, tablets, broken Arduinos—lets you forge your own simulator display, tactile controls and flashy LEDs without sticker shock. Moreover, you’ll rescue electronics from an early trip to landfill purgatory.
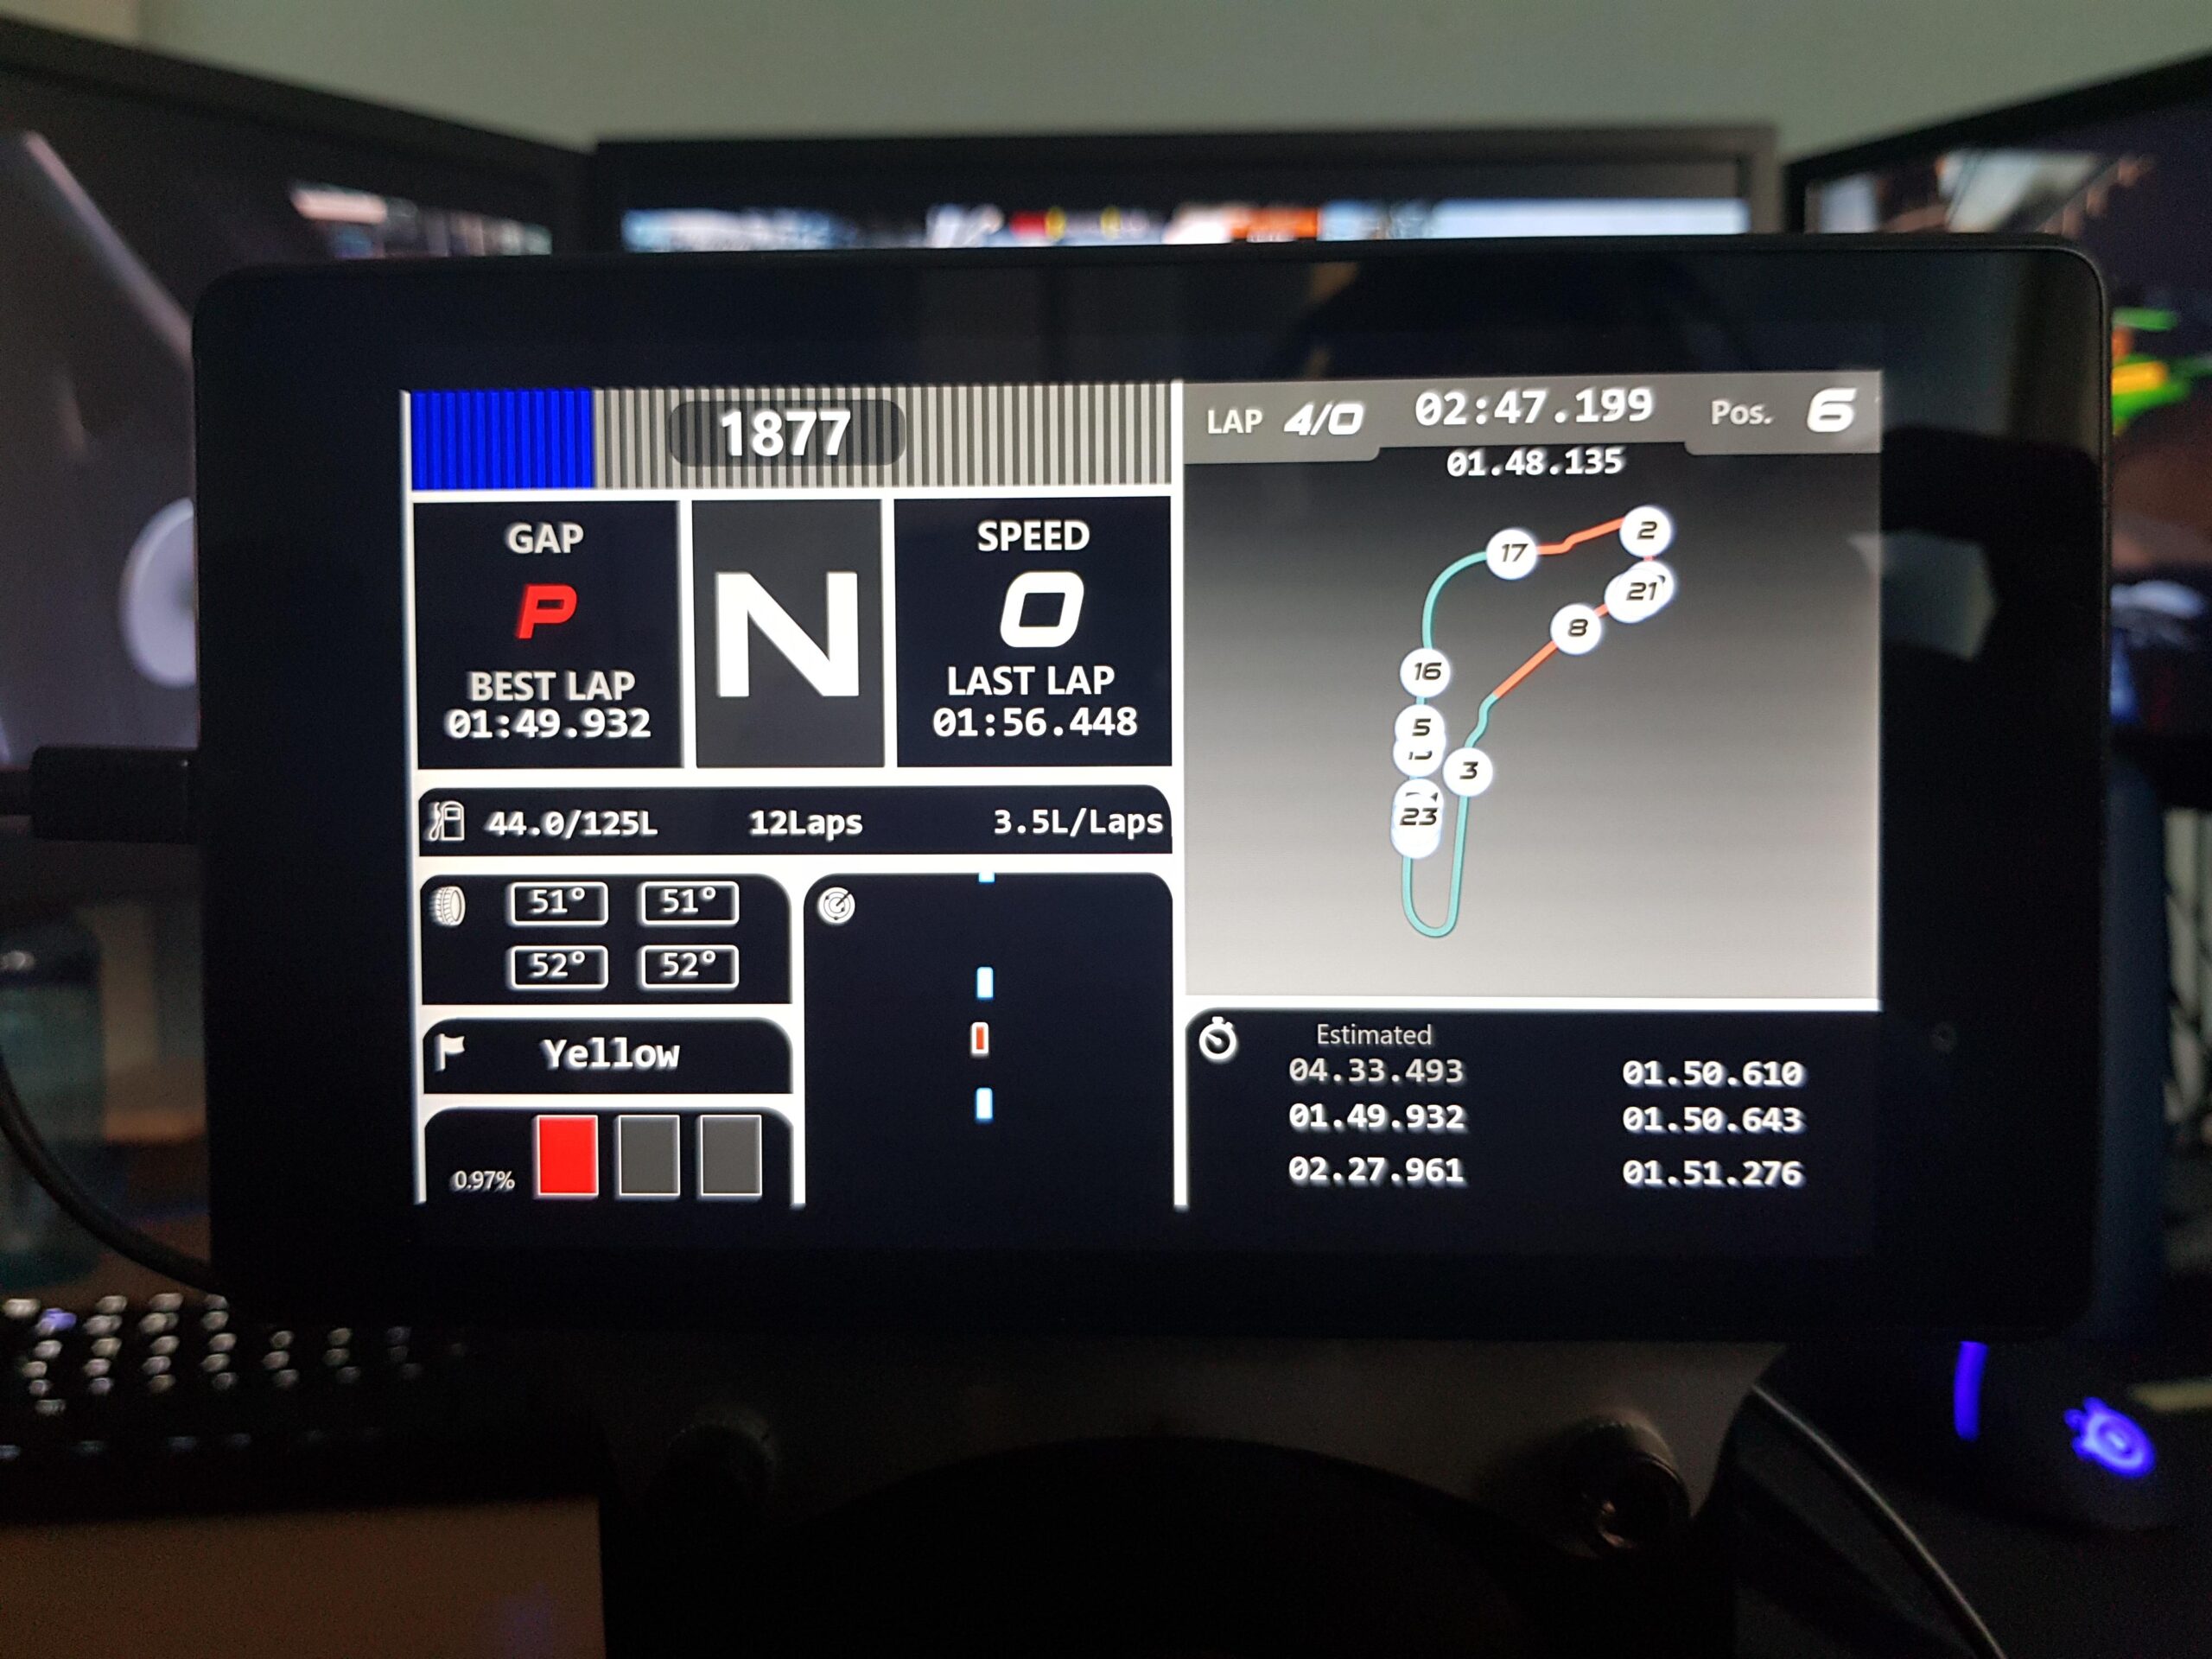
DIY Touch Screen Control Panel
Instead of buying a $200 touchscreen module, raid your old tablet drawer.
- Harvest the Display
– First, crack open a defunct tablet for its LCD-touch combo. - Interface It
– Next, use an inexpensive HDMI-to-MIPI adapter board (grab one here → HDMI-to-MIPI Adapter Board) to pipe video, plus a USB-C cable for touch data. - Customize Your UI
– Then, run an open-source dashboard (e.g. TouchPortal) on your PC. Map touch zones to macro commands, media controls or in-game functions. - Mount & Marvel
– Finally, slip the assembly into a 3D-printed bezel or repurposed picture frame. Prop it next to your main monitor and enjoy a bespoke display for maps, system stats or emote triggers.
Result: A fully configurable touch-screen interface that controls everything from mute/unmute to in-sim throttle—all for under twenty bucks.
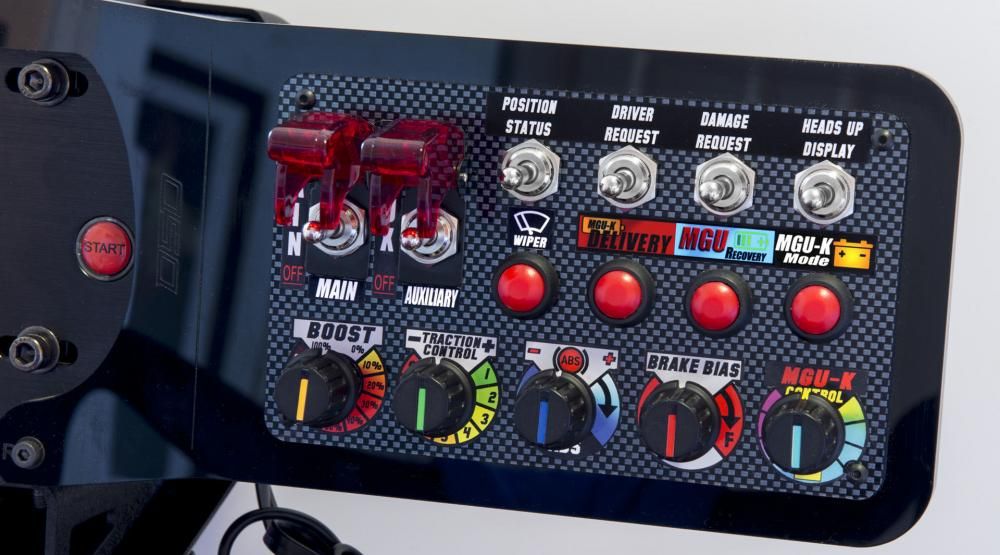
Budget Button Box for Simulator Controls
Whether you’re dogfighting, racing or piloting mechs, nothing beats the tactile joy of a dedicated button box.
- Salvage Momentary Switches
– First, gut an old media-center remote or defunct arcade joystick for sturdy microswitches and arcade buttons. - Microcontroller Magic
– Next, plug switches into an Arduino Pro Micro (it emulates a USB HID keyboard/gamepad). - Label & Liven
– Then, laser-print stickers for “Gear Up” or “Boost” and stick ’em on. Optionally, add addressable LEDs under translucent keys for flair. - Wire & Win
– Finally, route wires through a repurposed project box, attach rubber feet, and plug into your PC for instant simulator interface controls.
Result: A rugged, customizable button box that feels pro-grade—without emptying your pockets.
Budget-Stretching Tips
• Thrift-Store Scavenging
– Meanwhile, hunt broken tablets, printers or arcade cabinets for touchscreen & button-box gold.
• Community Barter
– Additionally, swap spare displays, switches or boost-converter boards on maker Discords or local meetups.
• Standardize Connectors
– Furthermore, keep Dupont cables, JST plugs and USB breakout boards on hand—future hookups become plug-and-play.
• Component Banks
– Consequently, label tubs “LCD panels,” “pushbuttons,” “power modules”—so you never waste time hunting.
Conclusion
Ultimately, forging your own touch screens, button boxes and simulator displays doesn’t require a fat wallet—just a dash of ingenuity and a heap of salvaged parts. Therefore, you’ll craft bespoke controls, slash costs and reduce e-waste all at once.
Ready to hack your next interface? Grab your HDMI-to-MIPI Adapter Board, fire up the soldering iron, and let’s get modding! Finally, share your thrifty triumphs (or hilarious mishaps) in the comments below—let’s keep building, modding and bragging together!

Leave a Reply